Select Entries on Working Sheet
Once the set of images in the Working sheet are roughly what you were looking for, you can further select which ones to copy to Conduit's list.
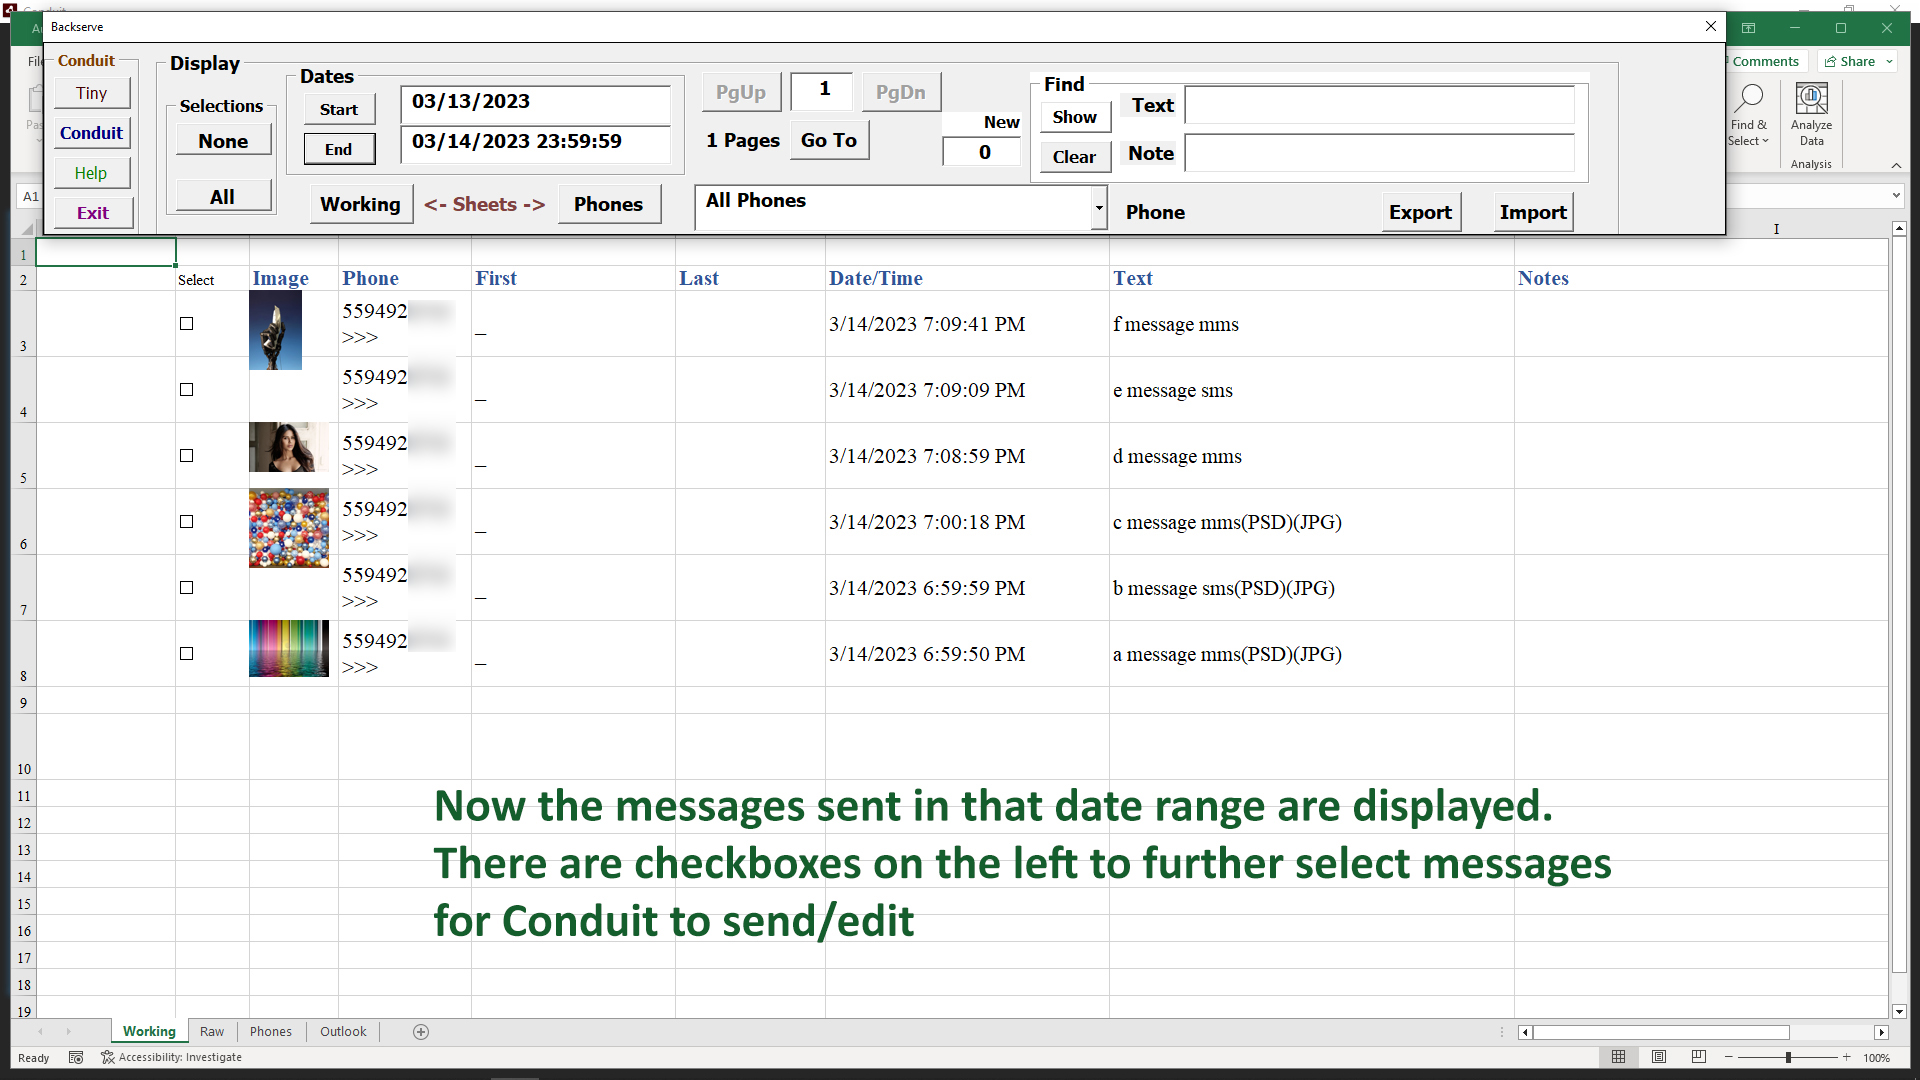
Use the checkboxes at the left of each Working entry to select or unselect it.
The 'All' button will select all the Working sheet entries, the 'None' button wiil unselect all of the entries. Both buttons are at the left of the Control panel, in the Selections area.
End Date Range
Now we will reduce the ending date of our date range. Remember to Clear the message text and note text search fields so you don't get misleading results if that further search restriction is not desired.
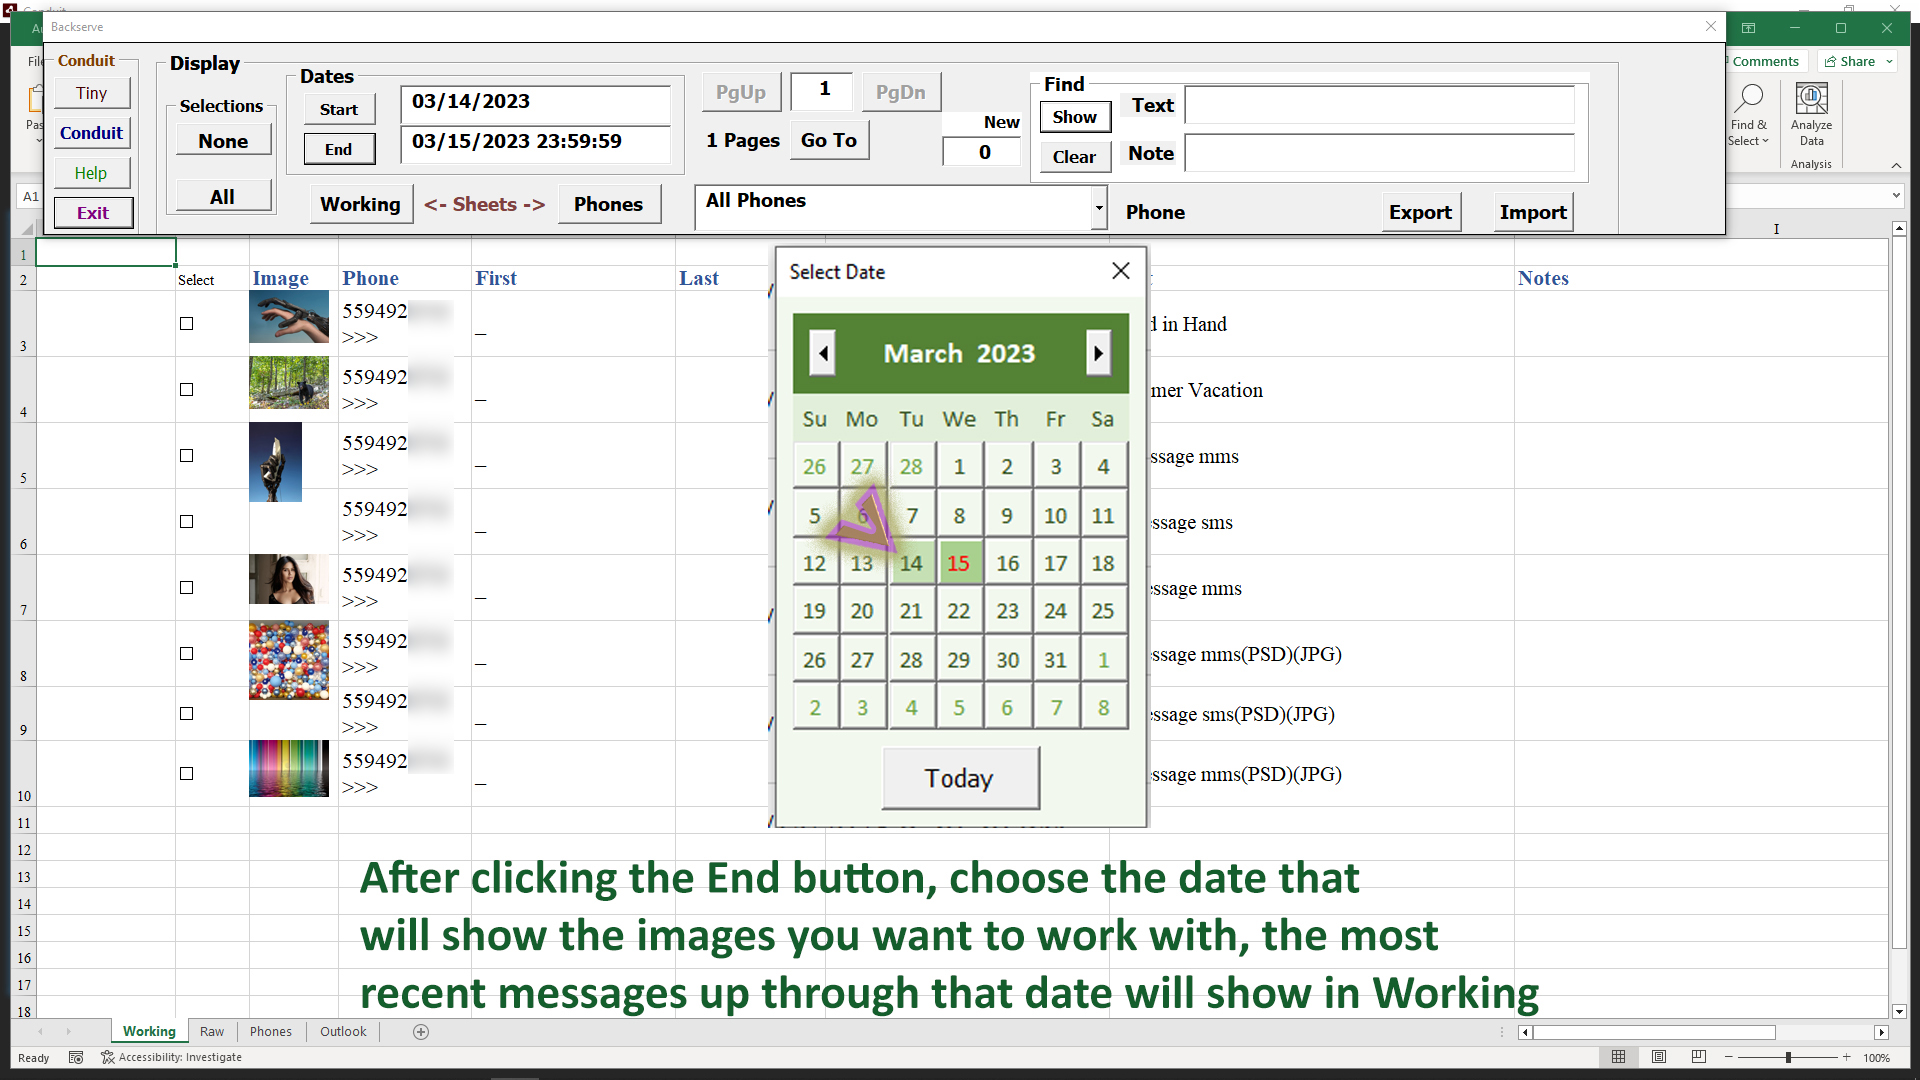
So we clear the search fields with the Clear button, then click the End button to select the End date on a calendar.
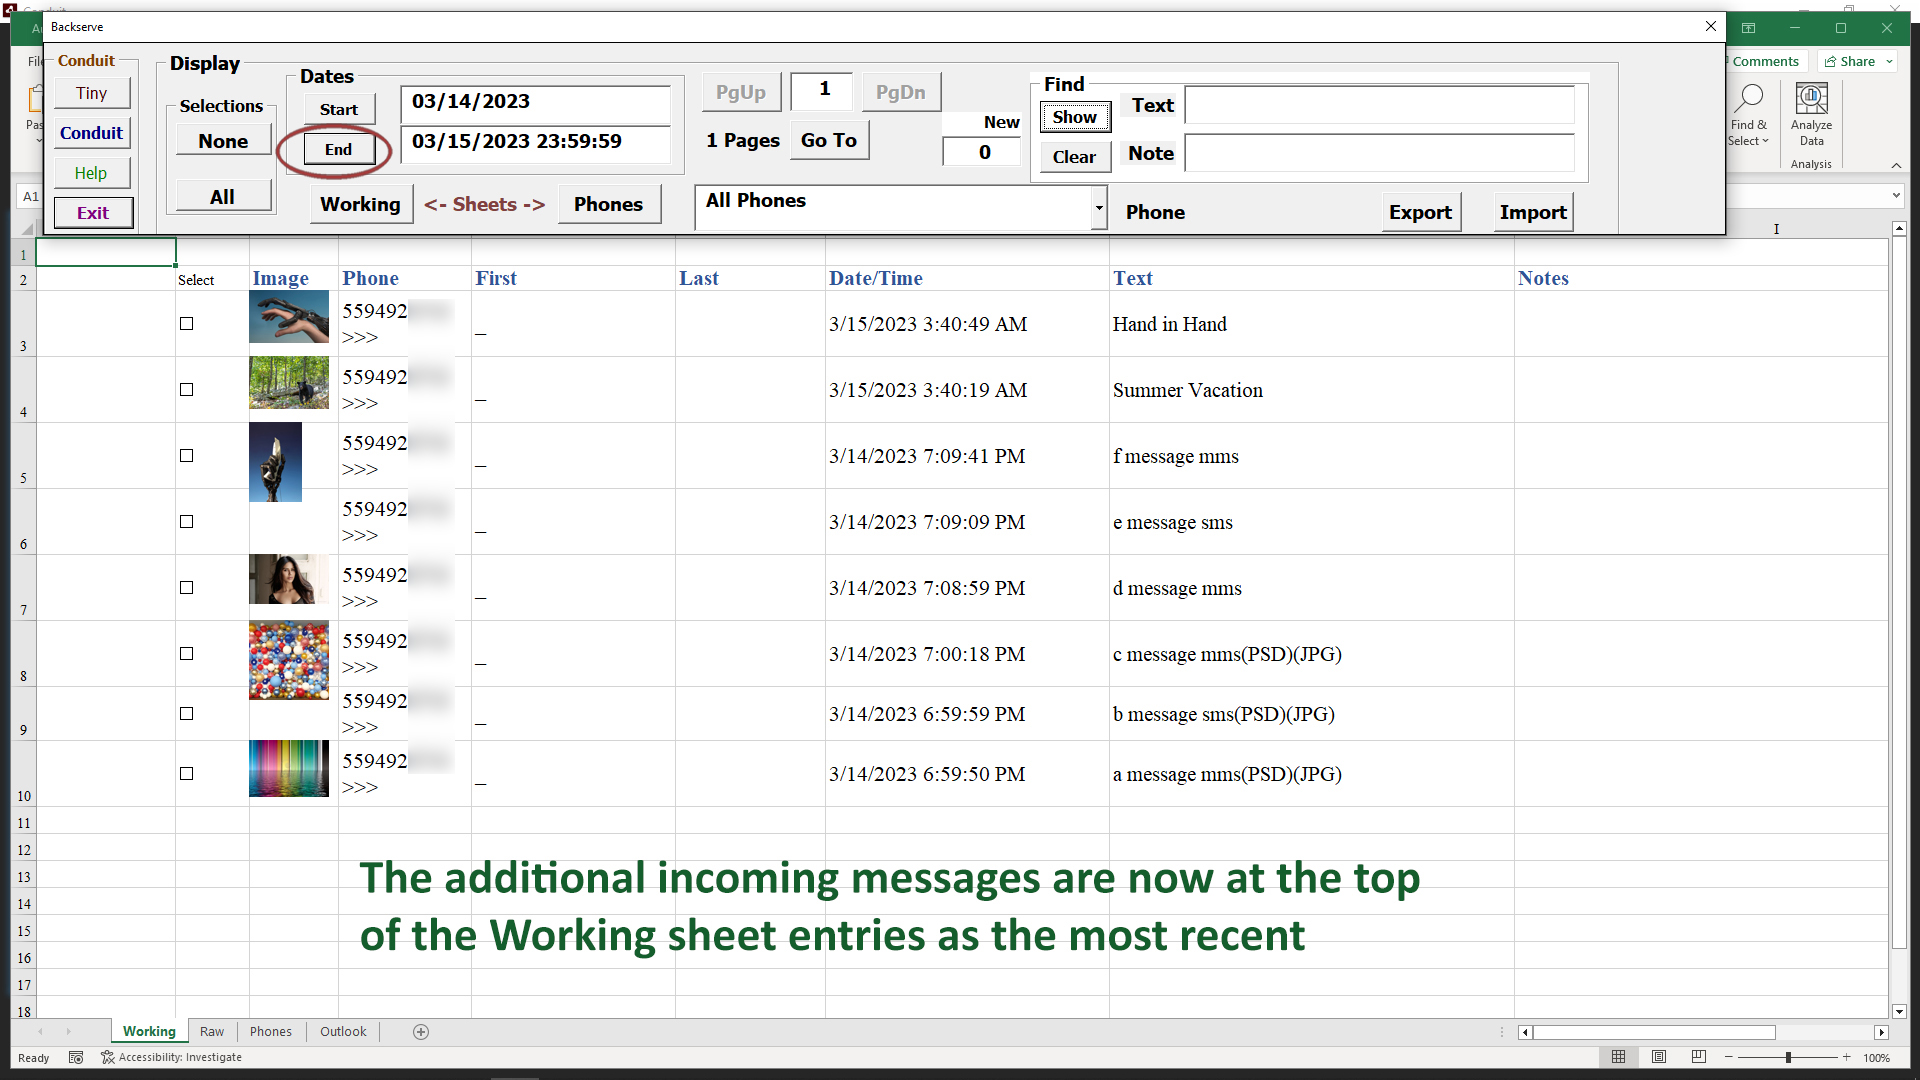
Then we have a range of messages we want to work with.
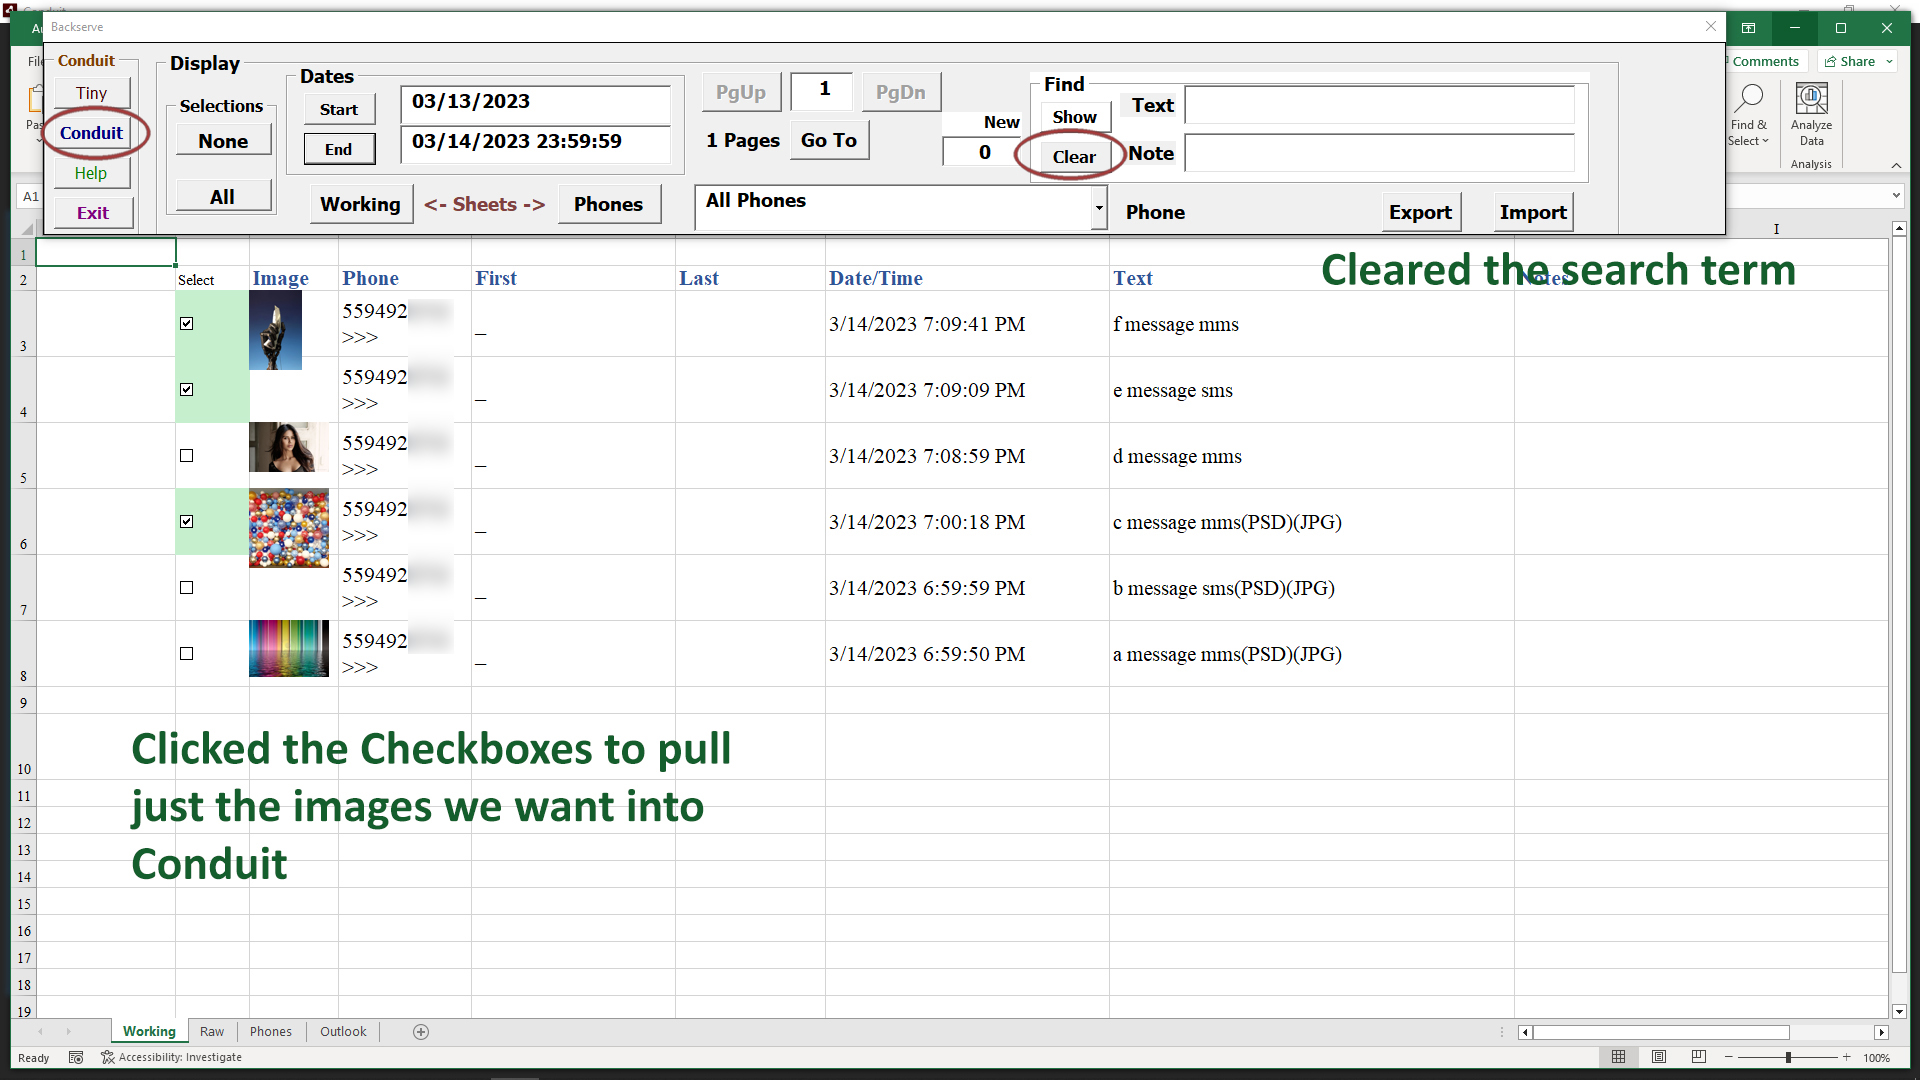
Now we click the checkboxes to the left to select the ones we want to use in Conduit for editing or sending, then we click the Conduit button on the left side of the Control menu.
Click the Conduit button. This will bring us back to the Conduit in the Times tab, where the message list appears.
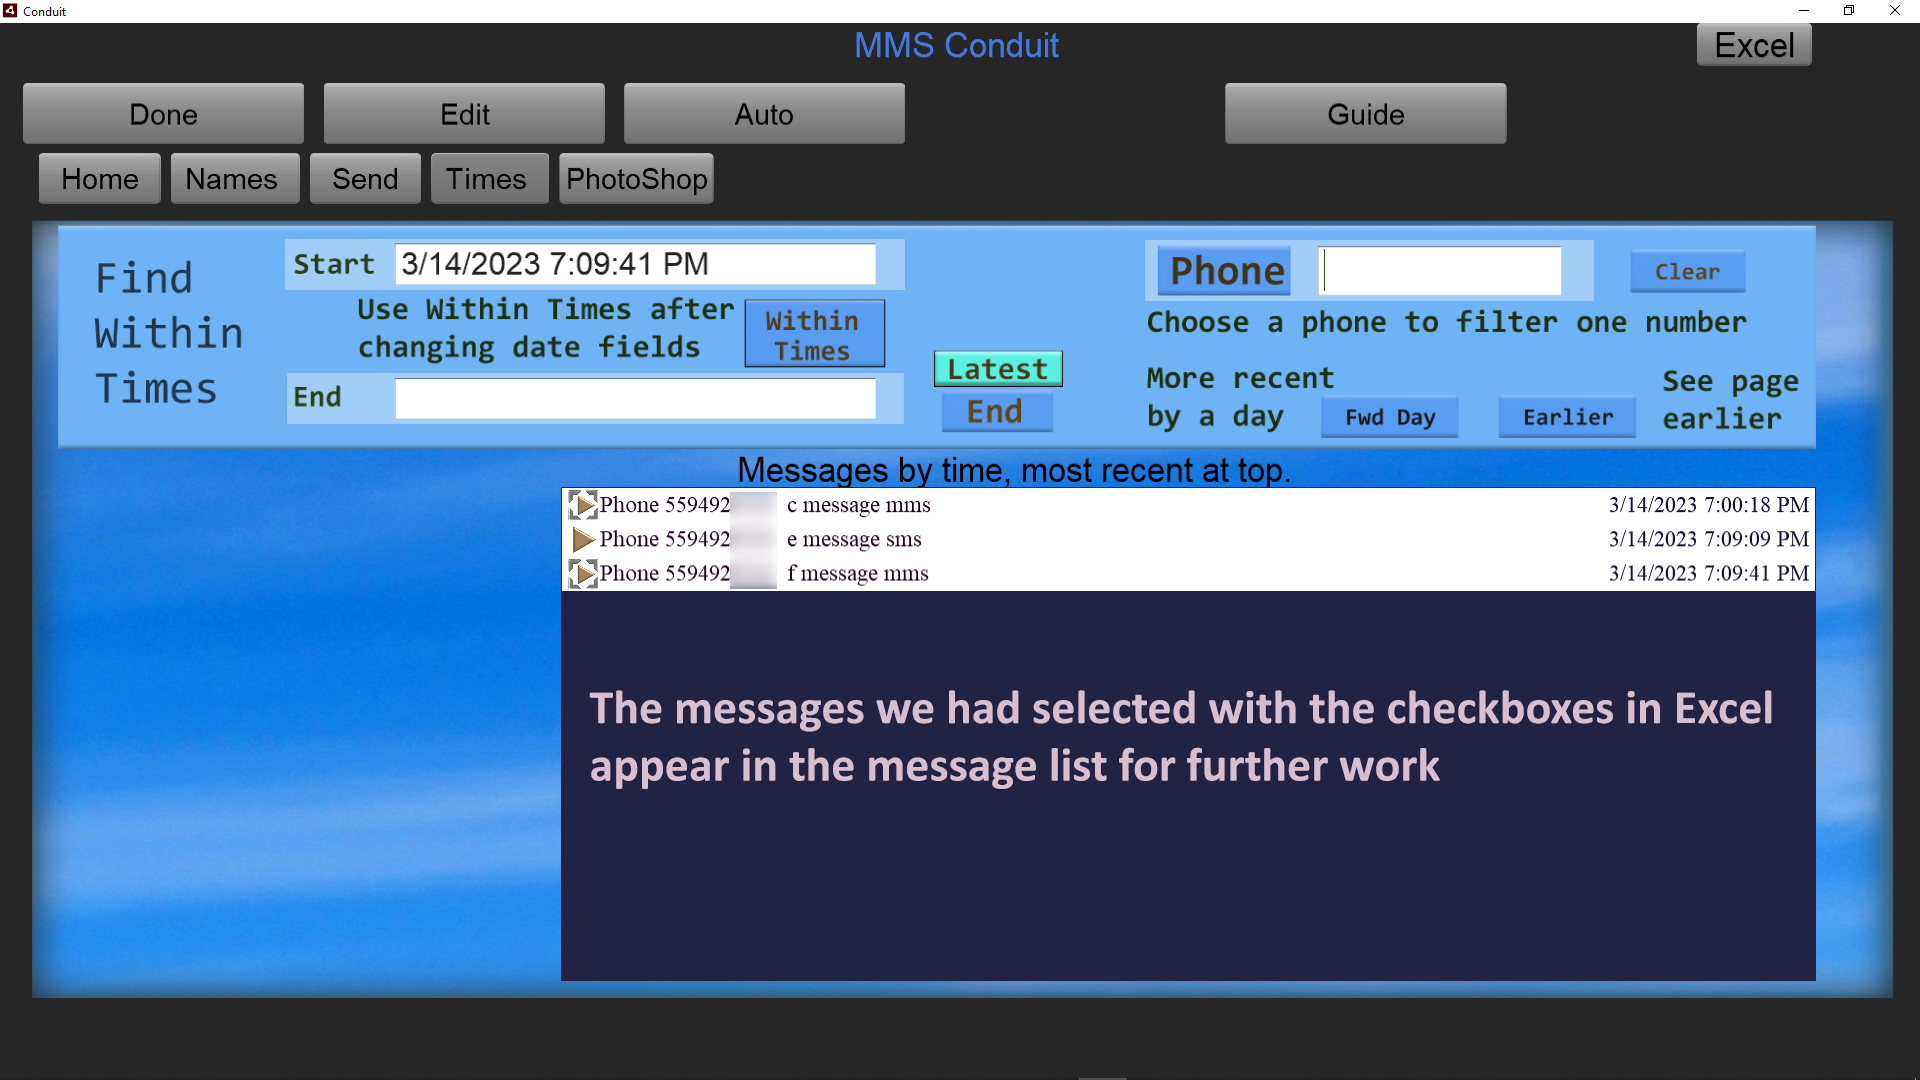
To work with any message for sending or editing, click one of these messages in the list, these were checkboxed in Excel.
To return to Excel use the Excel button in the upper right, the same way you got there before.
When you select messages with checkboxes, they can only be selected in the current page(see the Pages section). Select the messages you wish to work with and click the Conduit button to further edit/send messages from the ones selected.
When you return to Excel, you will still be at the current page of messages so you are able to continue select and working with messages in the proper order.