Working in Conduit
Select a set of messages in Excel with the checkboxes at the left of the message data.
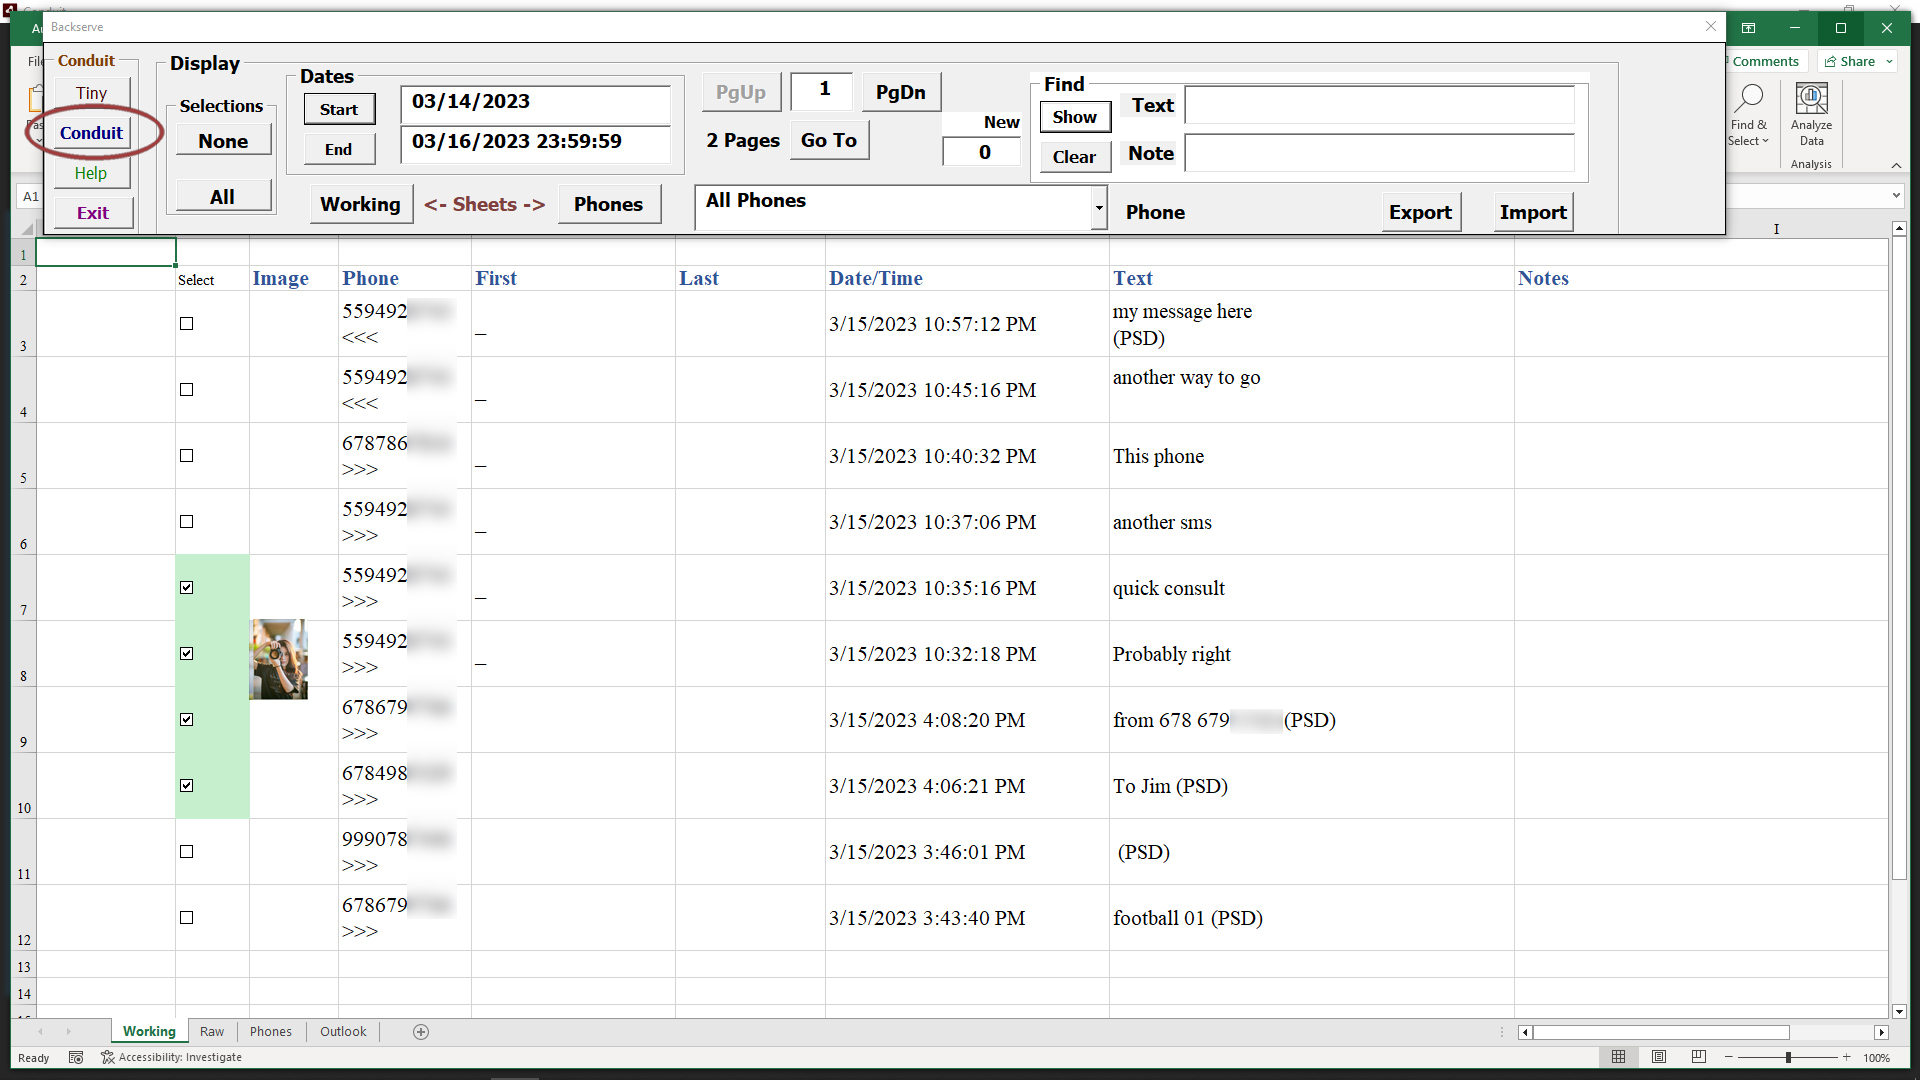
Click the Conduit button to form the message list under the Times tab in Conduit, which allows you to edit images and send the edits.
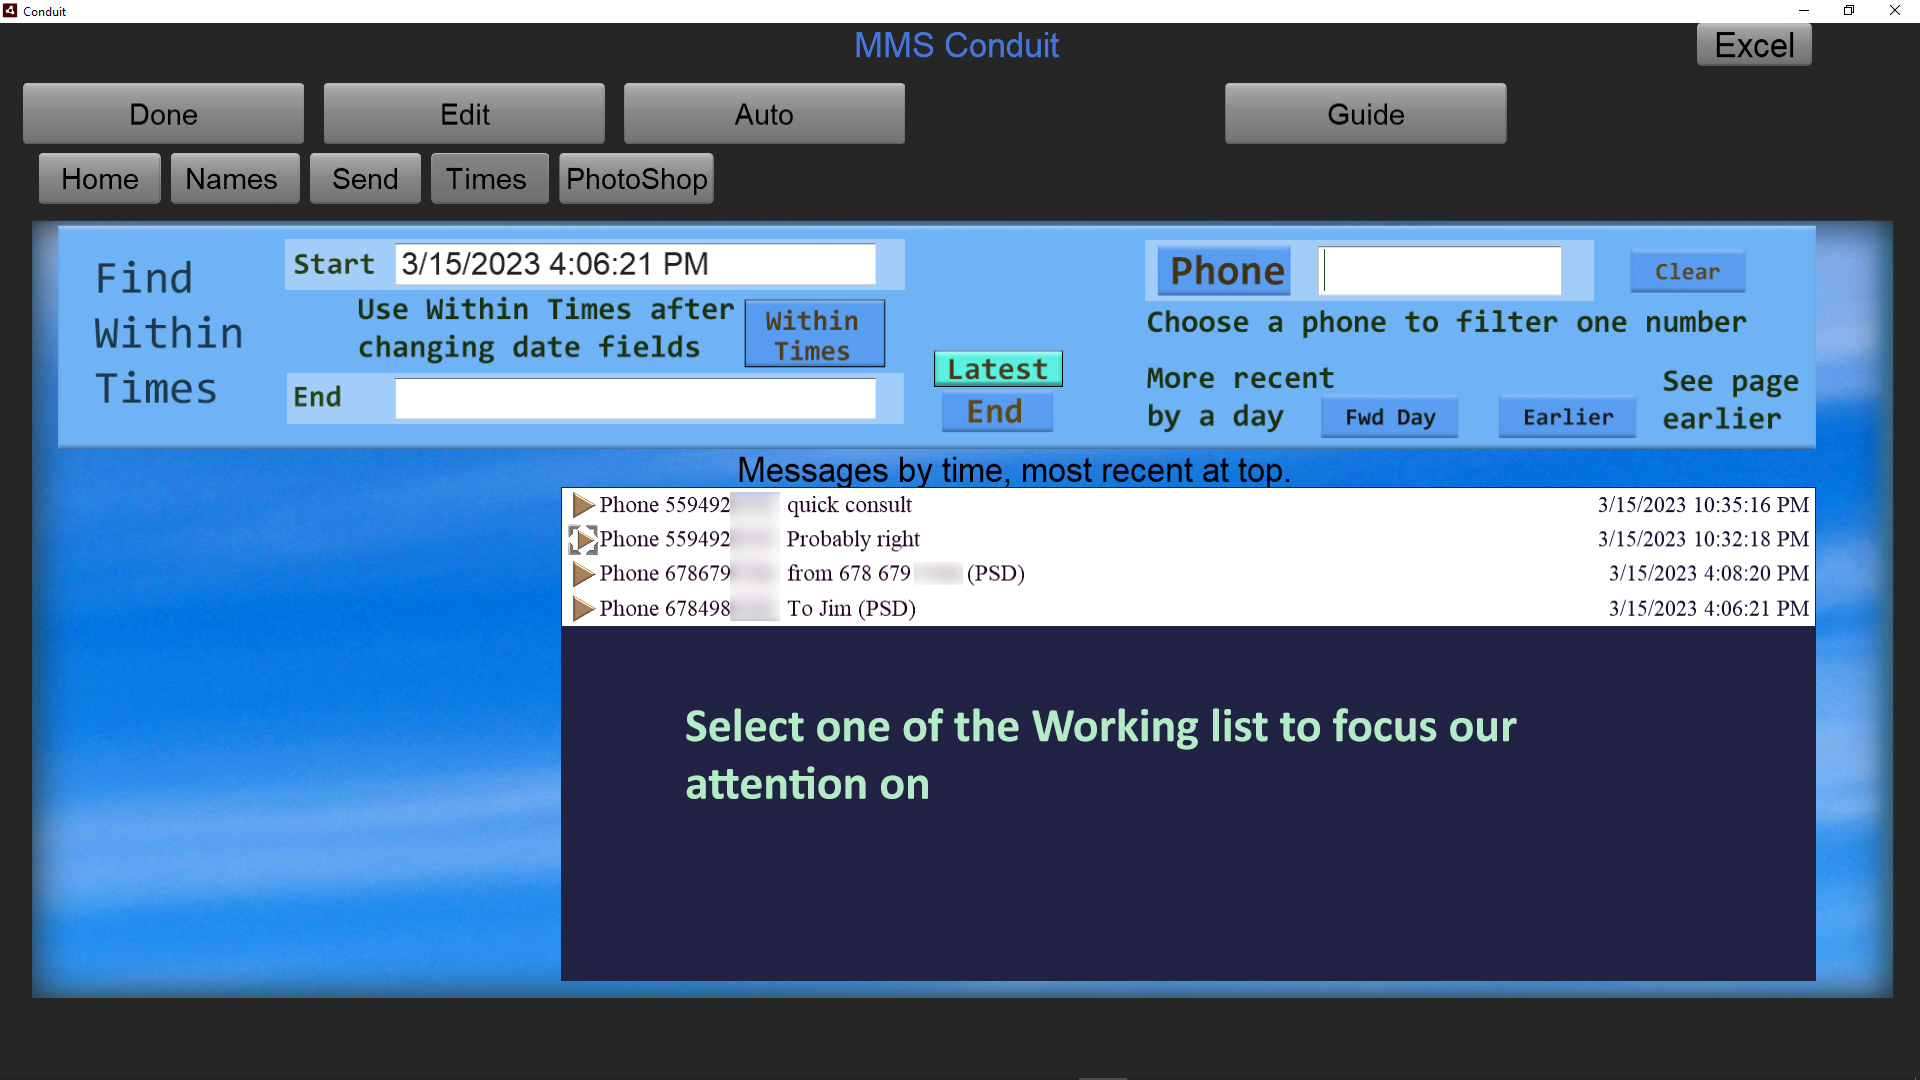
The messages we selected in the Working sheet show up in Conduit's list of messages in the Times tab.
Excel is minimized so we can concentrate on sending and editing images and text with those that were checkbox selected.
Let's step through a sequence in Conduit to edit an image now that we have made the selections in Excel to fill the list in Conduit.
Click on one of the message list entries.
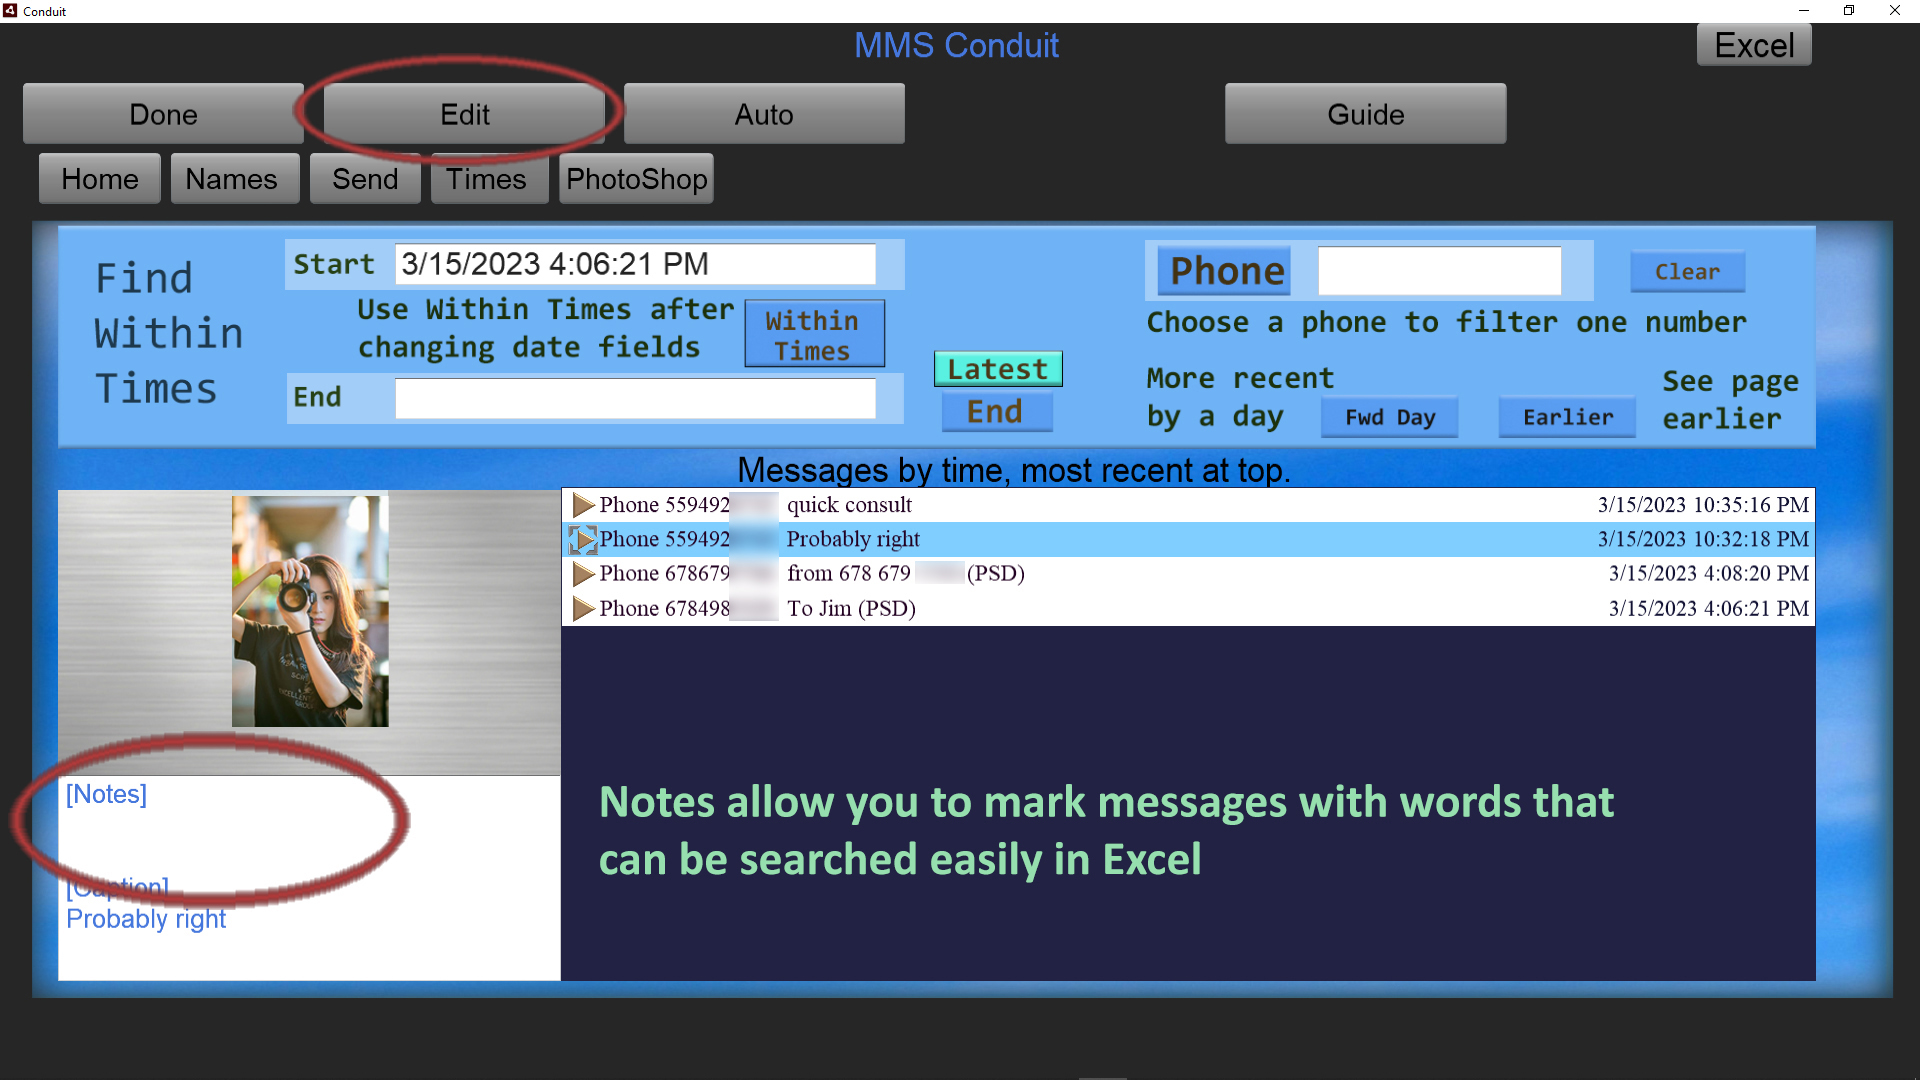
Now click on the Edit button at the top of the screen to bring the message into Photoshop.
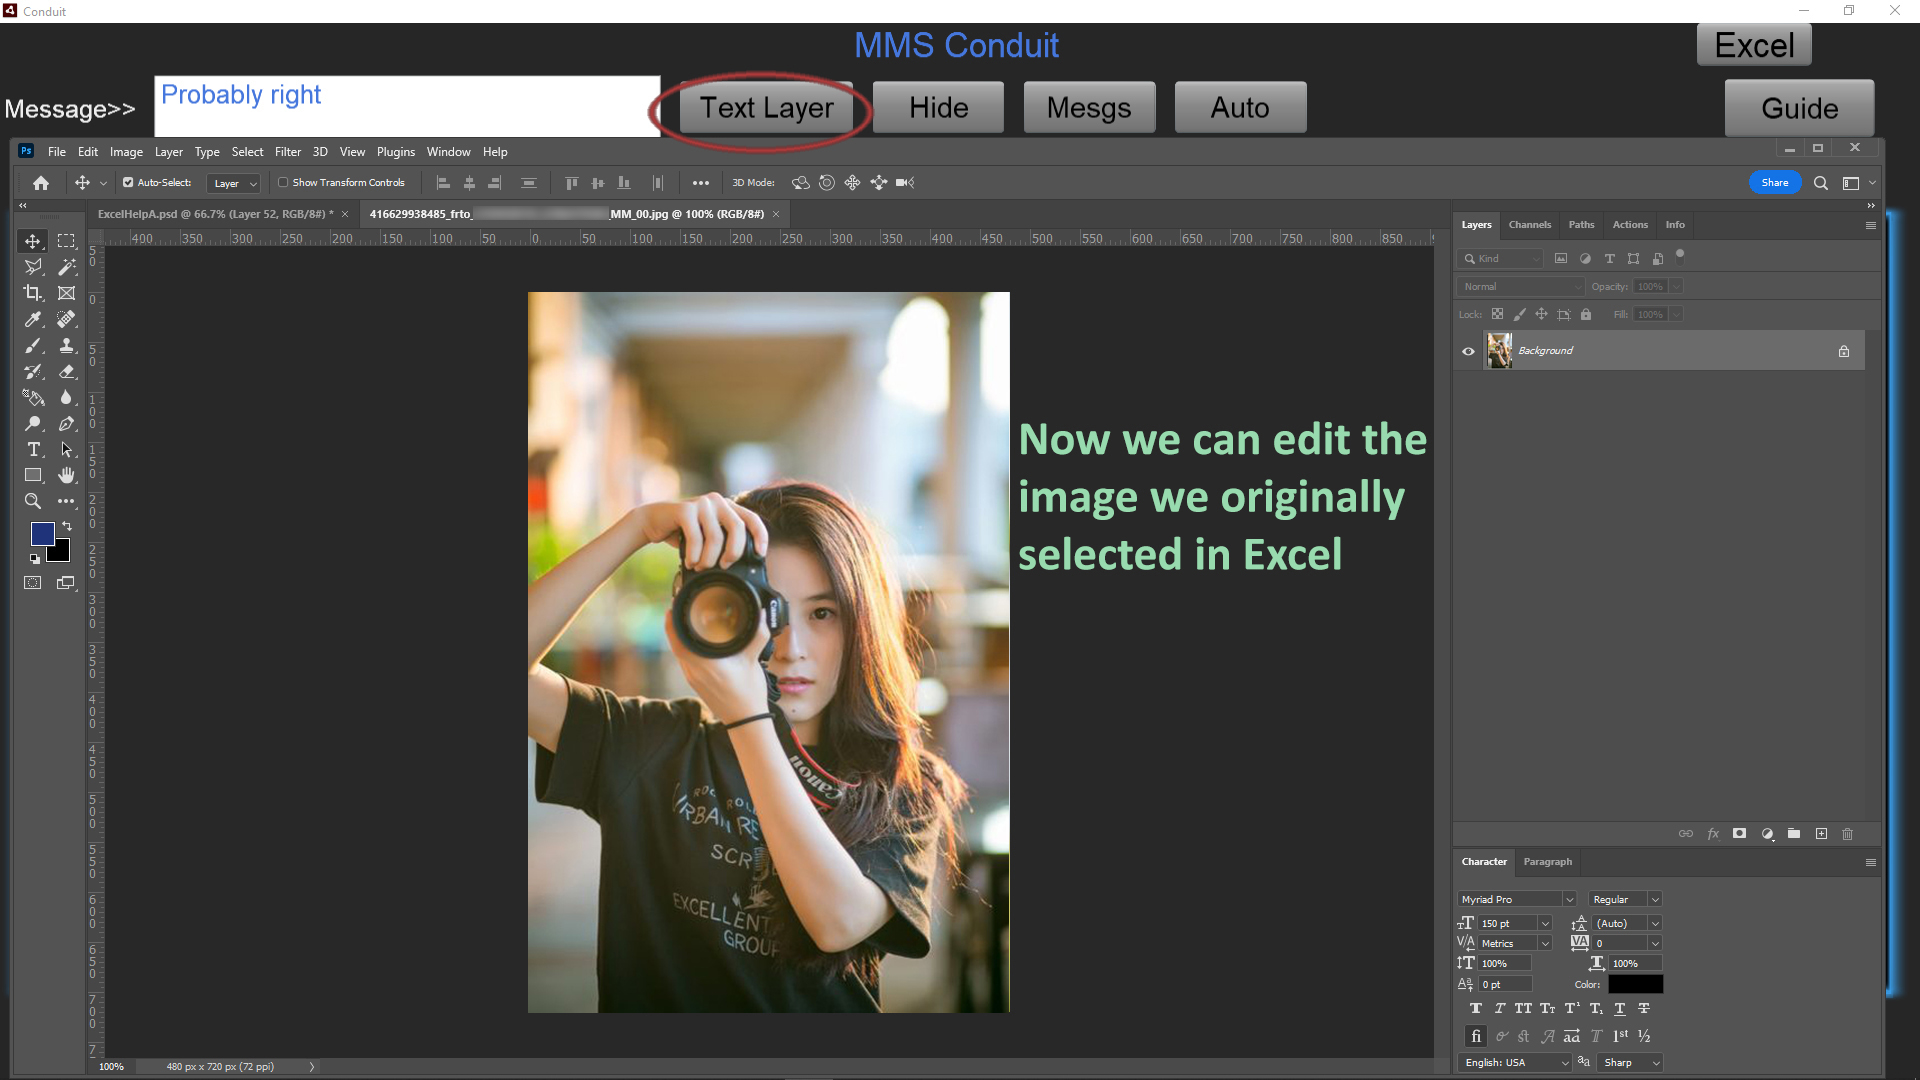
The original message image is loaded in Photoshop, and we show how to use the 'Text Layer' button, which places the received message text automatically into the image in Photoshop.
It's a common way to start, but you don't have to use the Text Layer button.
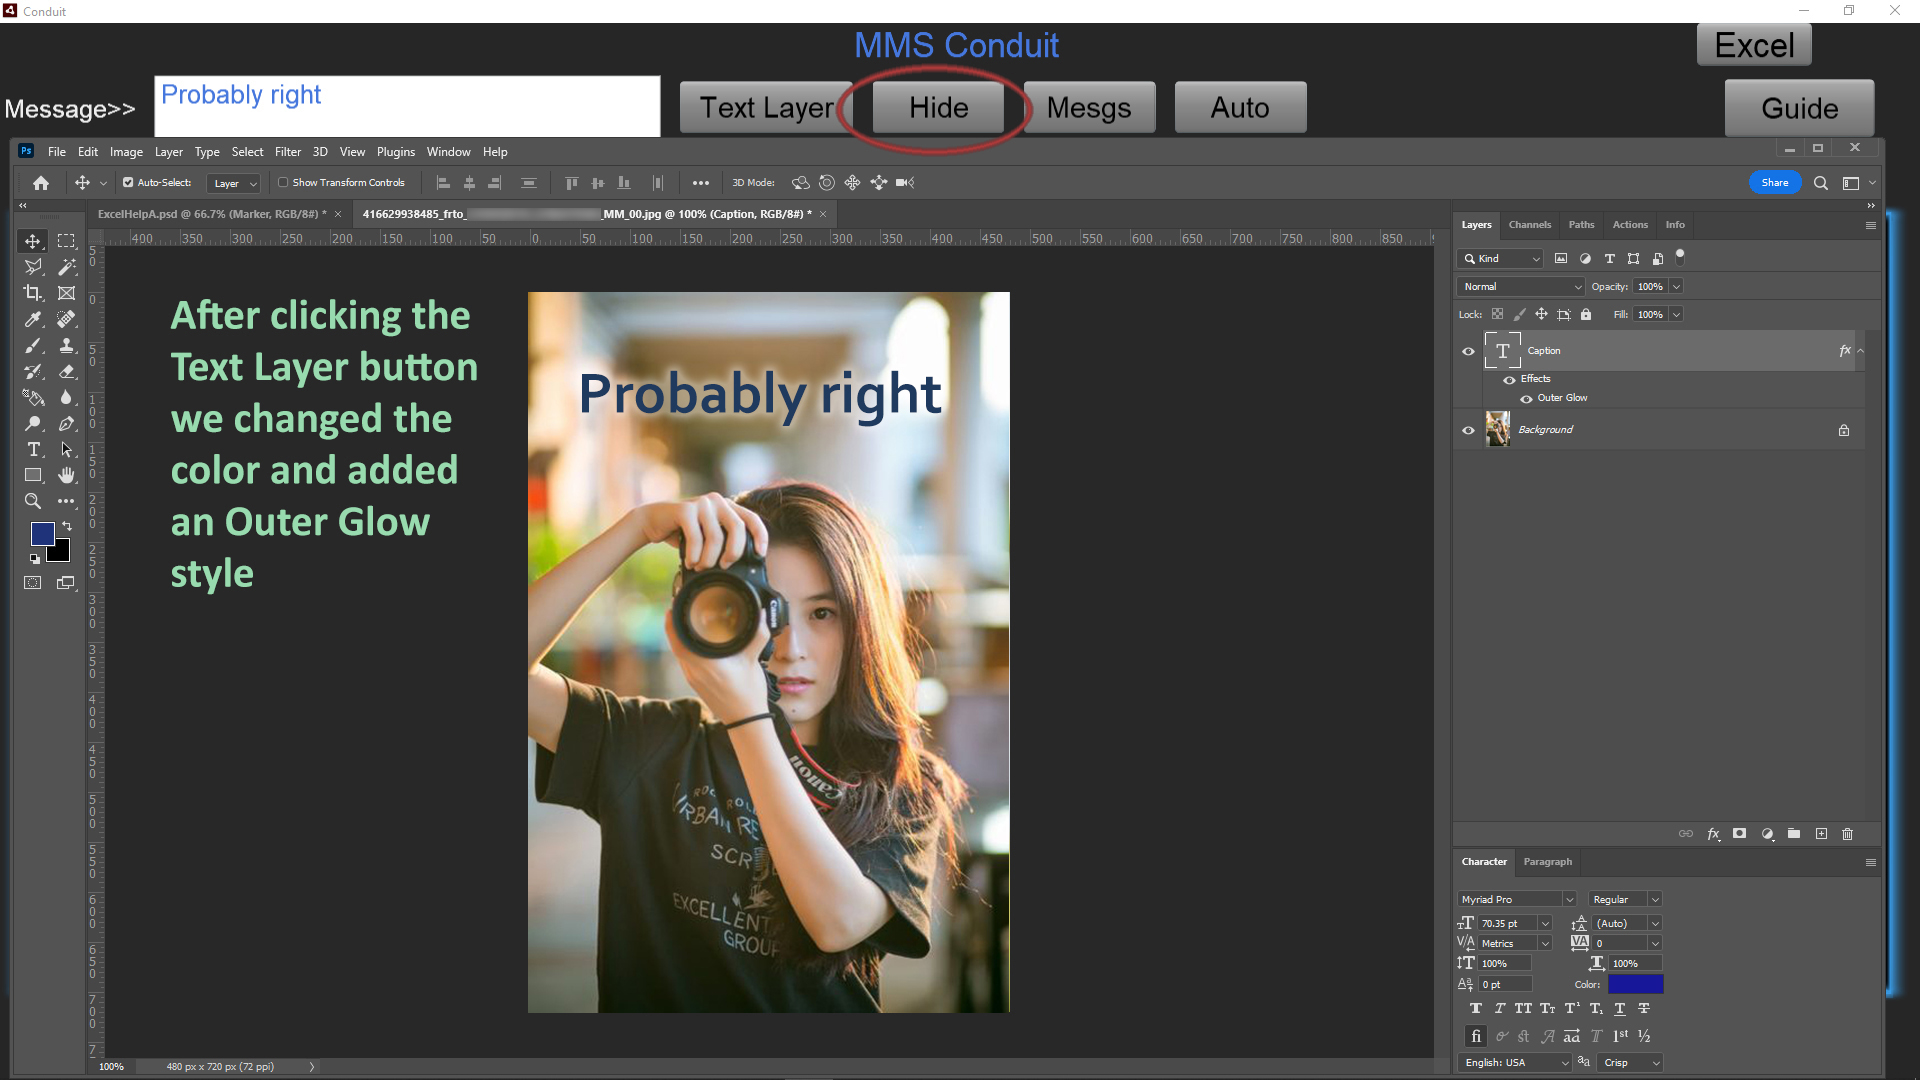
We applied further editing to the image to get the result we want to send to someone by changing the text color and adding an Outer Glow.
Now we are ready to message the result, and we use the Hide button to minimize Photoshop and get to the Send tab.
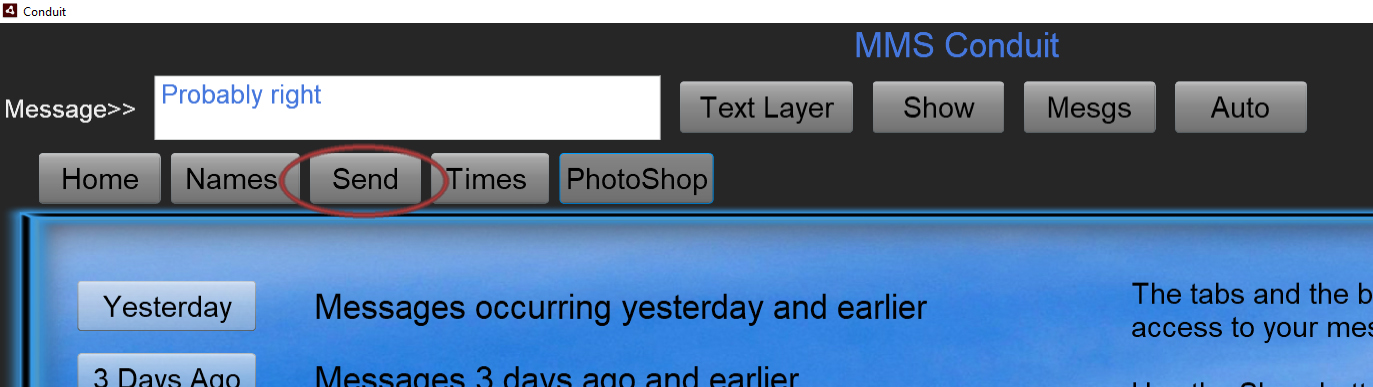
Click the Send tab.
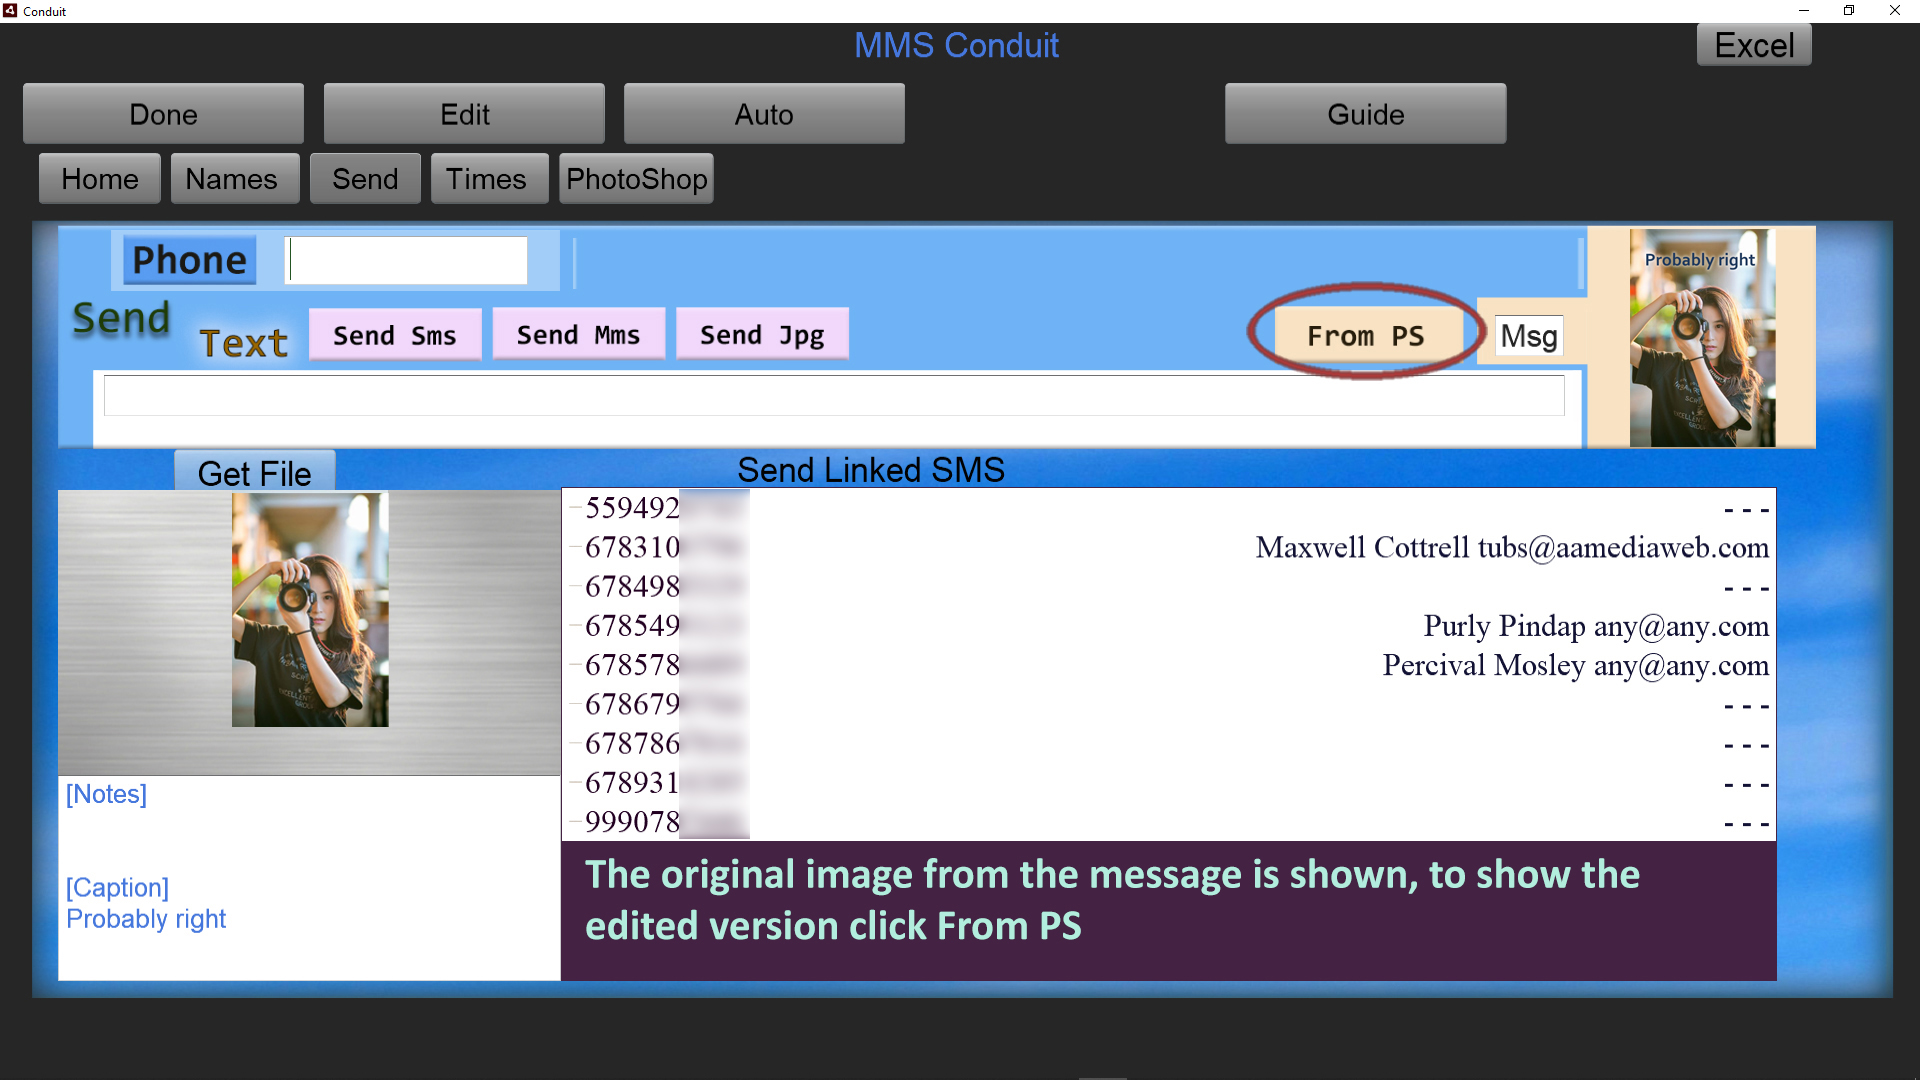
When the Send tab is entered, the original image attached to the message is shown. The label next to the thumbnail on the right shows 'Msg' indicating the original message is displayed.
To the left of the label appears the 'From PS' button which means the Jpg and Psd copied from what you had in Photoshop are now available to send.
Click on 'From PS' because we want to send what we worked on in Photoshop to someone else to work with, as a Psd.
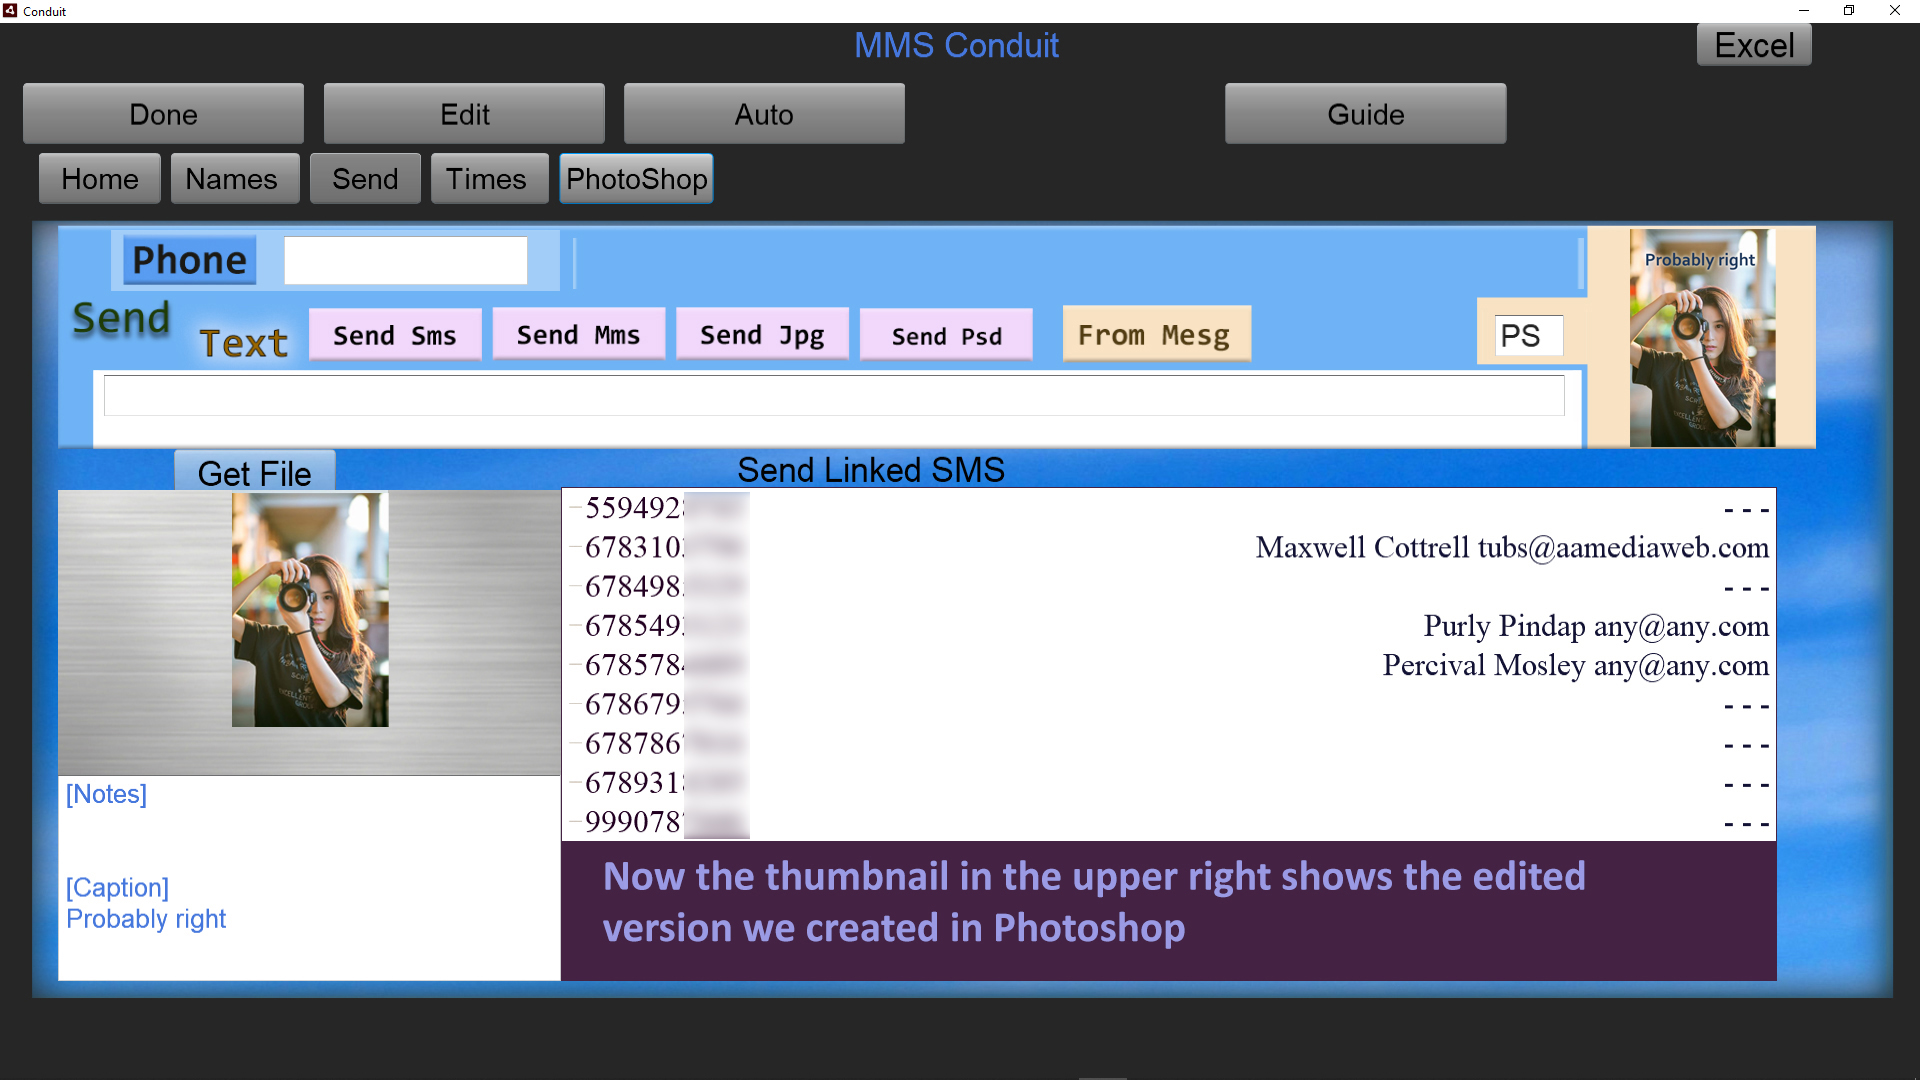
The thumbnail in the upper right now shows a copy of what we had in Photoshop. The label now displays 'PS' to indicate that we are now able to send from those copies.
Several different ways of sending the image are available. We could send it as an MMS, which is always a smaller file due to the limits of text messaging. We can instead send the Jpg at full size or the full design file, the Psd.
If we only want to send a text message we can choose 'Send Sms' and the text we provide will be the message sent.
Fill in the text of the message we want to send, and select a phone number from the list, or instead fill in the Phone field with another number if it is not in the list.
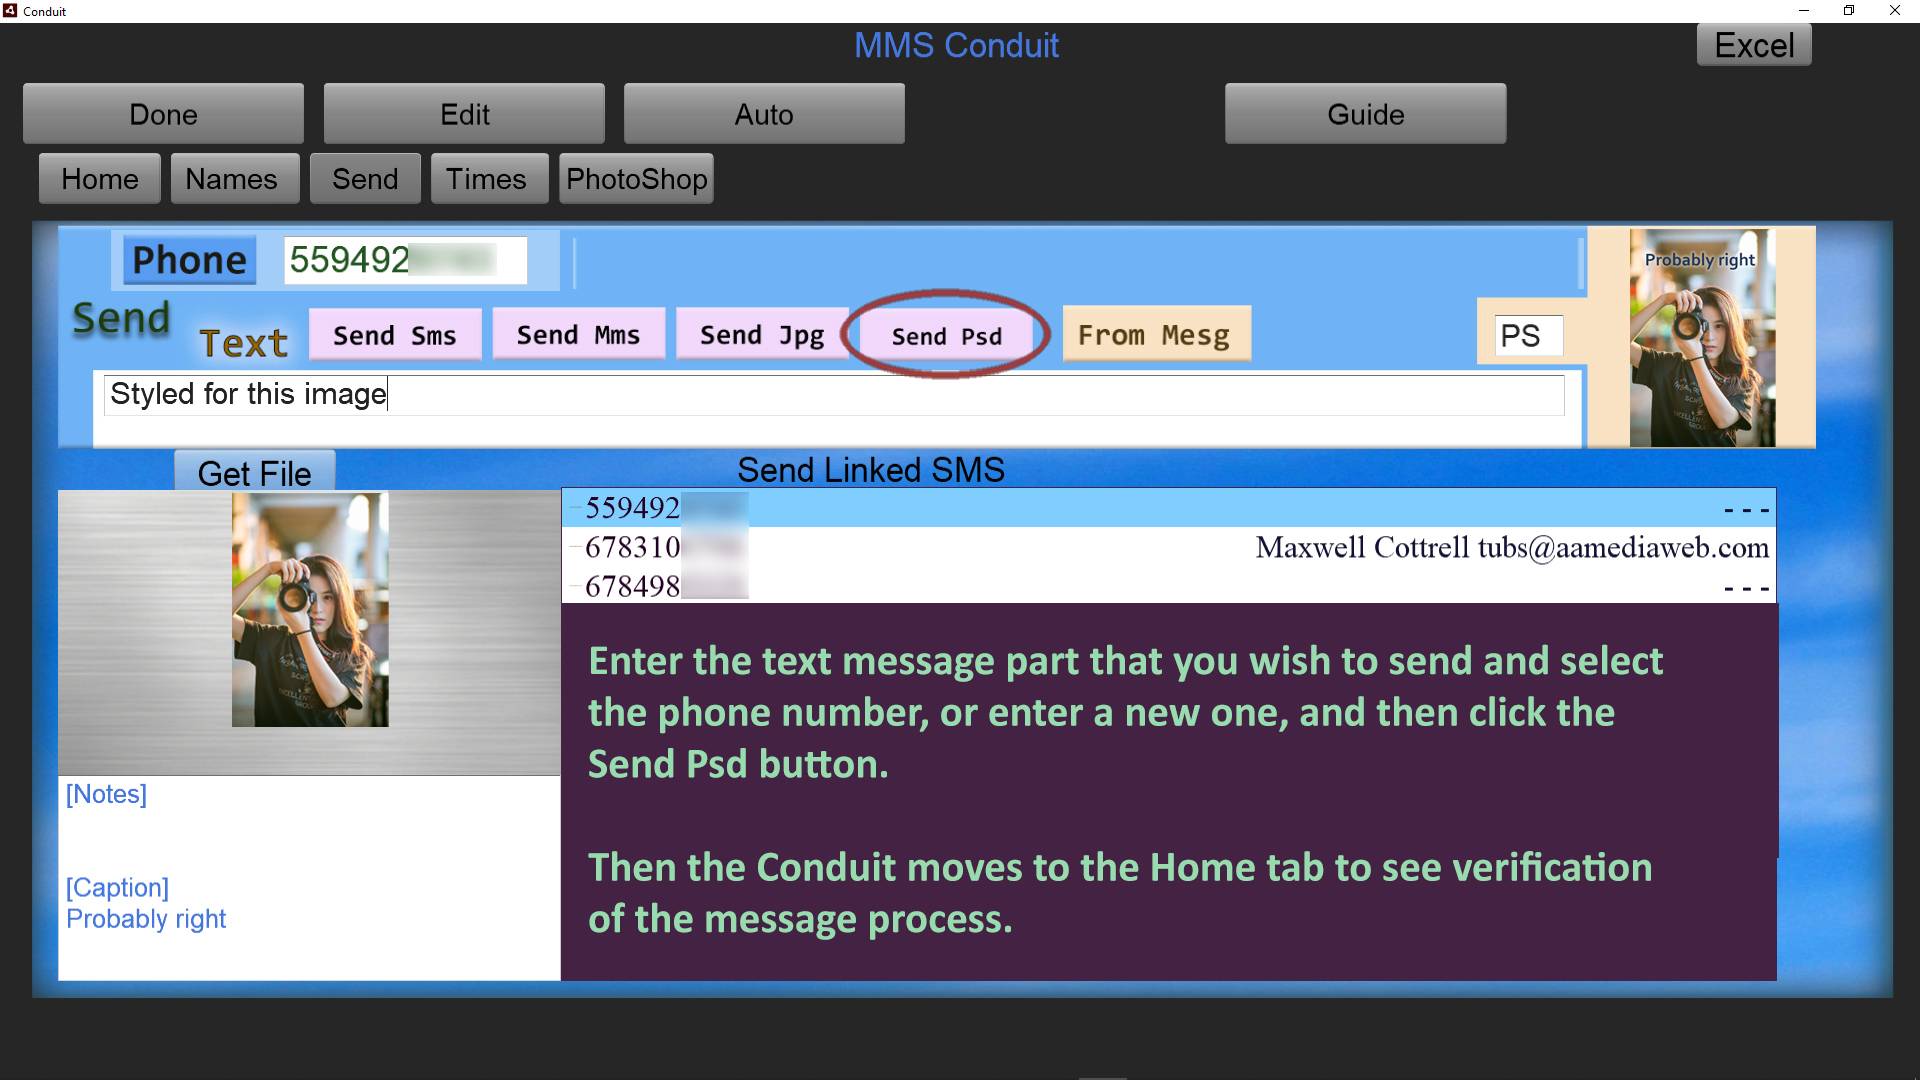
For this example we are going to send the Psd. Click 'Send Psd'. The Conduit switches to the Home tab for viewing the results.
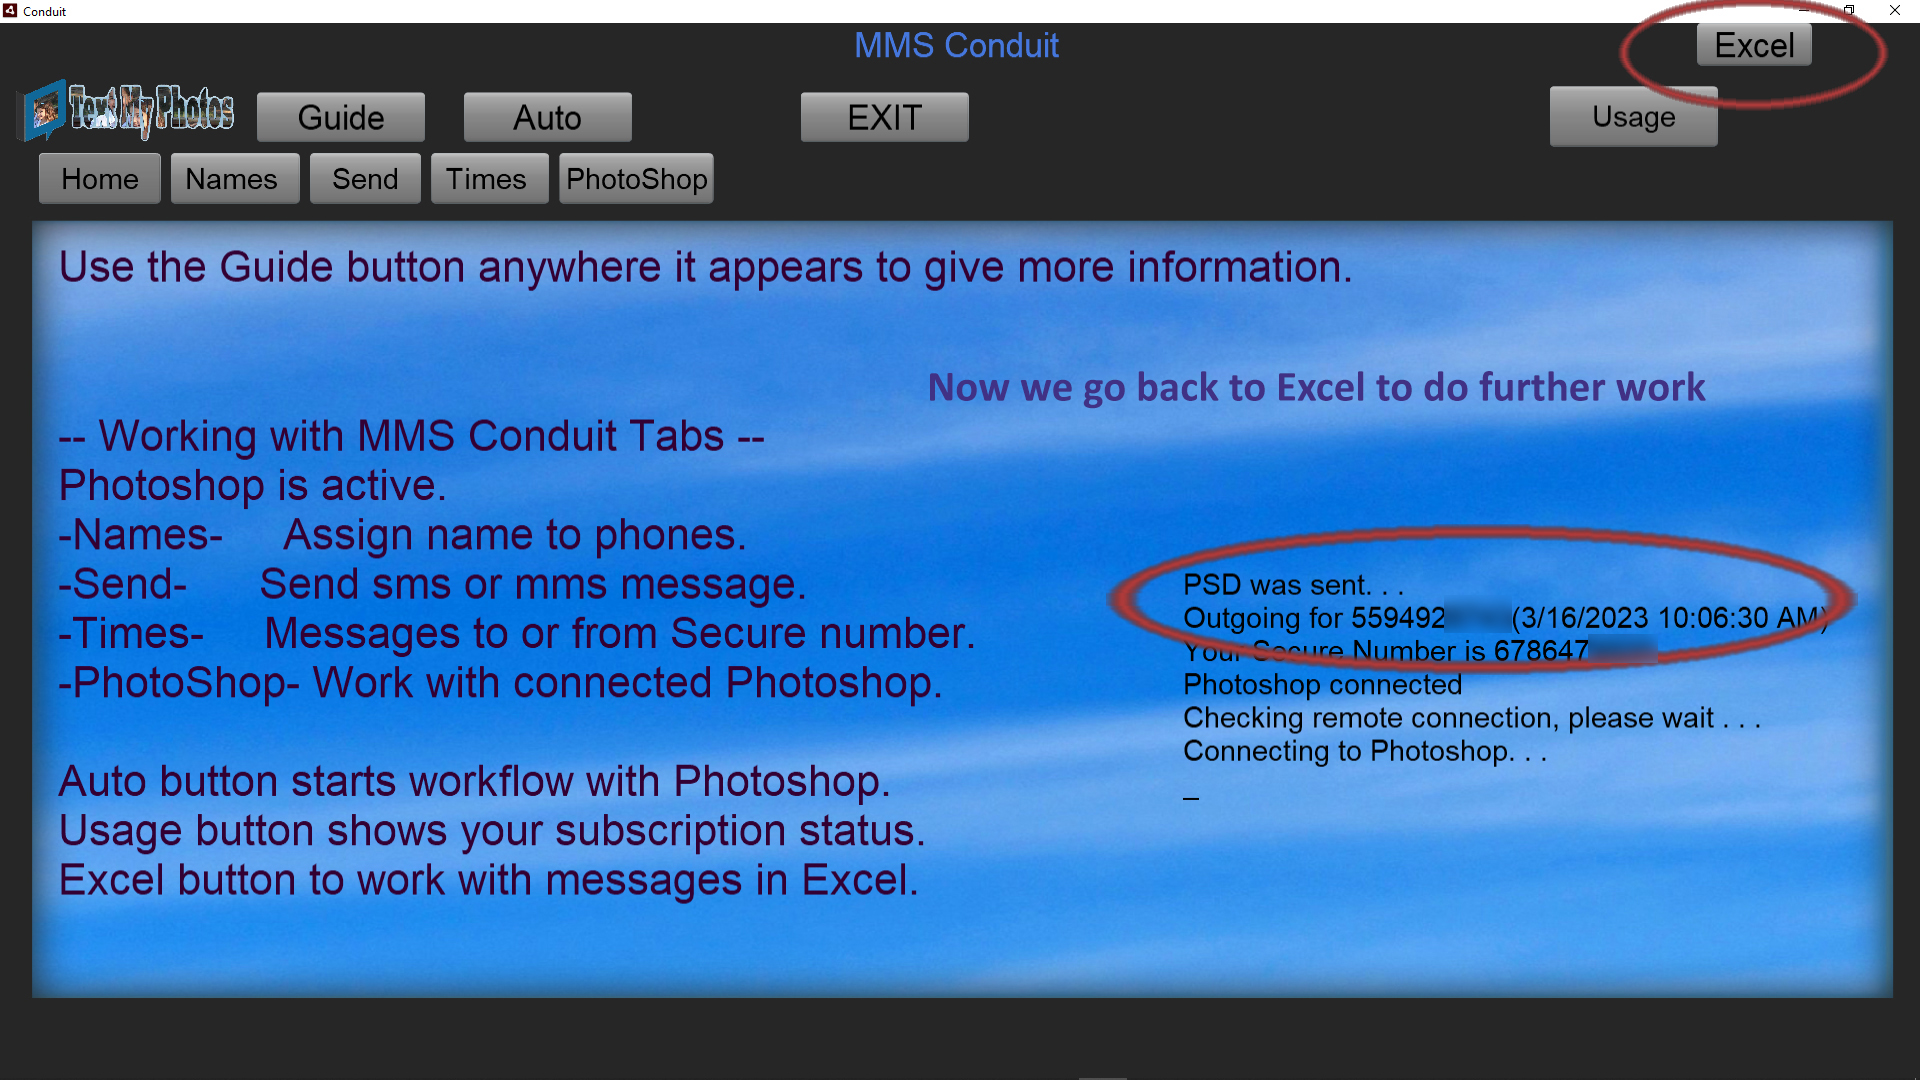
A message shows at the top of the screen, 'Outgoing . . .' followed by 'MMS was sent' or 'SMS was sent', or 'JPG was sent' or as in our example 'PSD was sent'.
Once that has occurred, we can go back to Excel by using the button on the upper right.
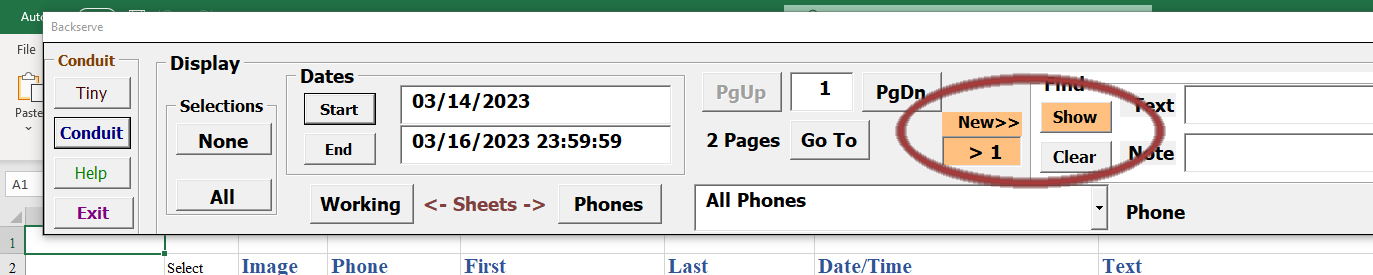
Because we sent a message, Excel counts the message and indicates we should use the Show button if we want to see updated recent message traffic. Click 'Show'.
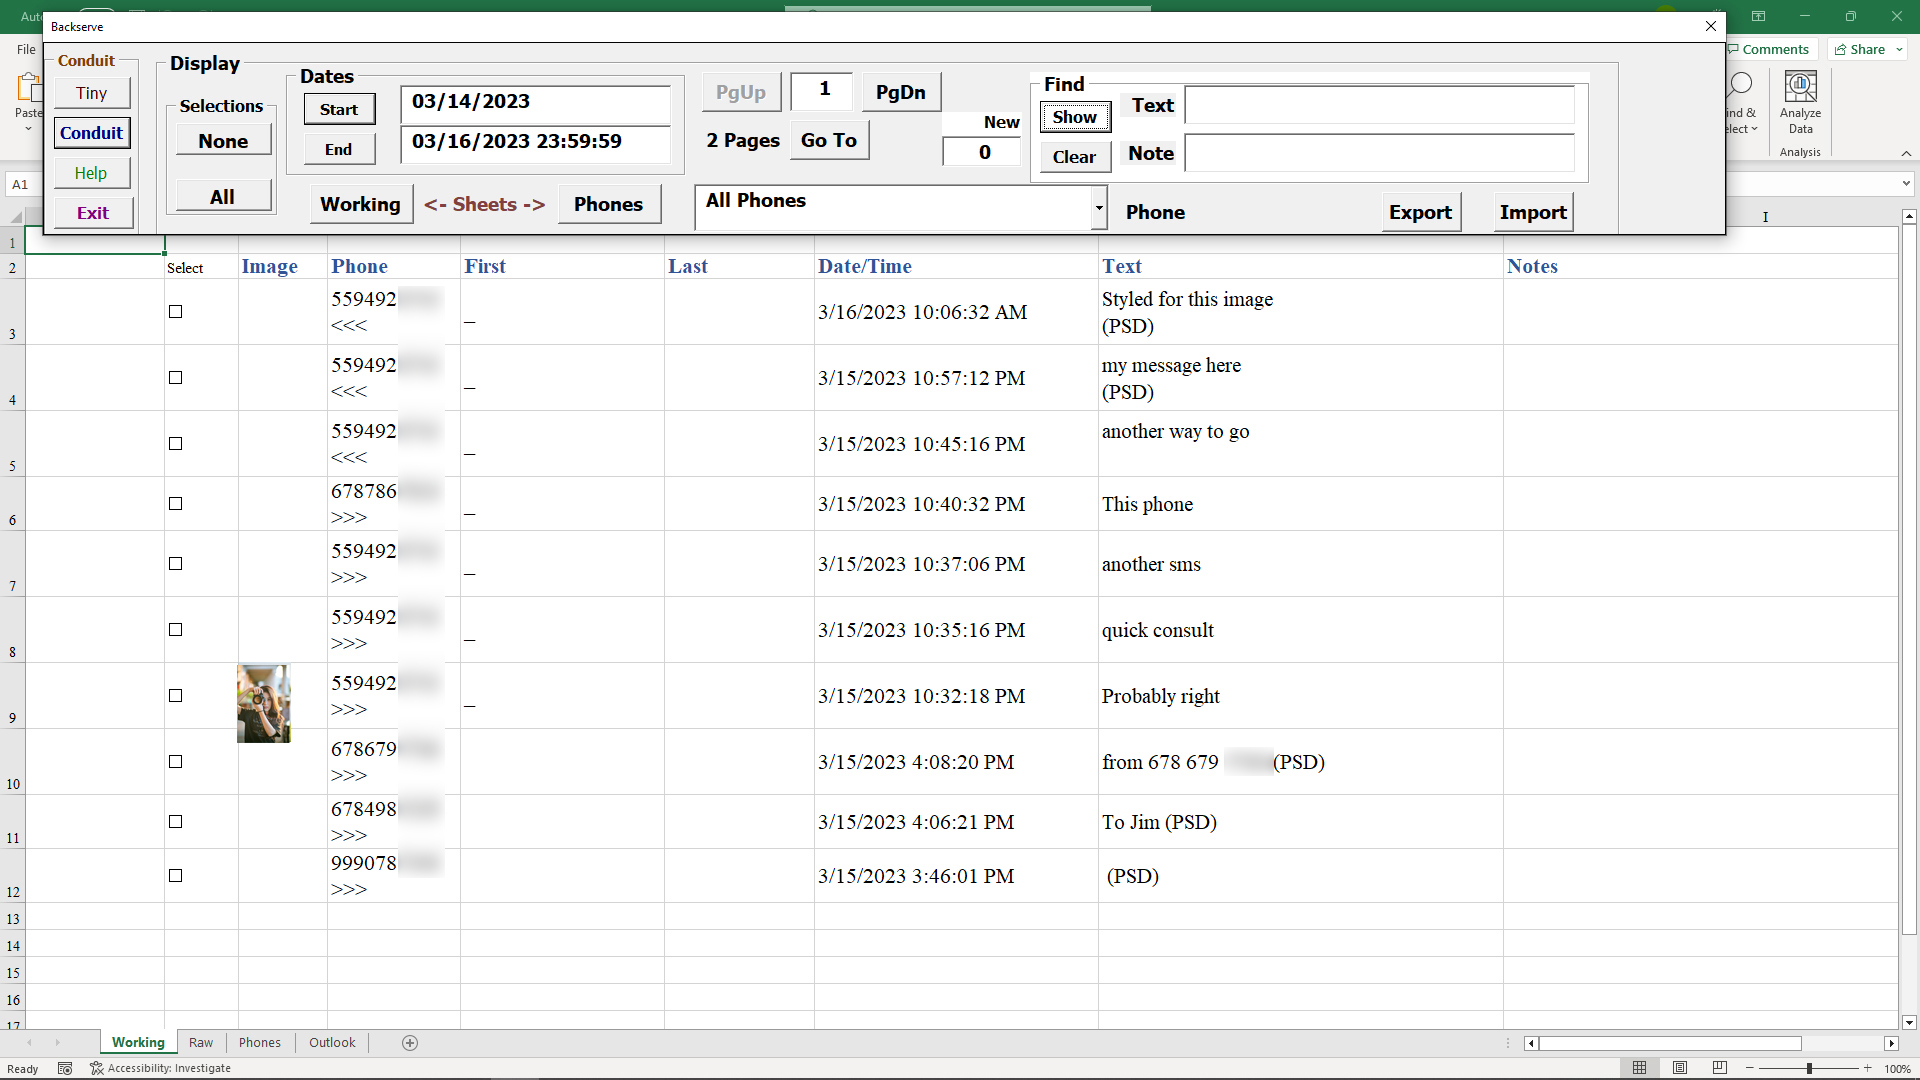
By searching and selecting in Excel, we can collect message traffic for further editing and sending through Conduit.